If there were a competition for “awkward yet effective exercises,” the frog pump exercise would probably take home the first-place trophy. Heck, even the name of the movement sounds a little weird.
But despite the curious looks the exercise may attract, frog pumps aren’t about seeking attention. They’re about strengthening the glute muscles.
Here’s how to perform this butt-builder and why it has a leg up on other traditional glute exercises.
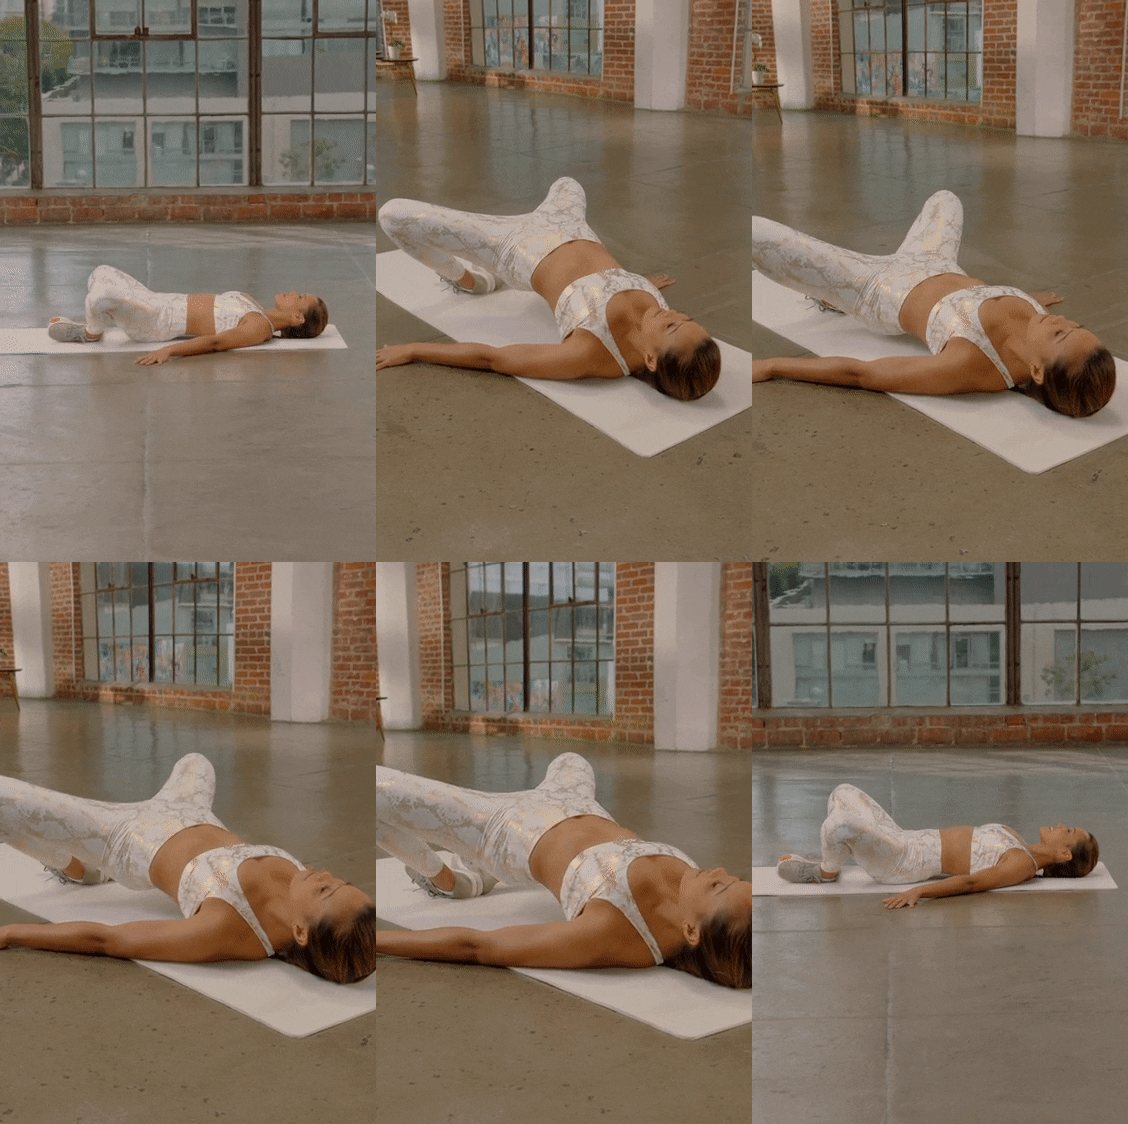
Frog Pump Exercise: Step-by-Step Instructions
- Lie on your back, arms by your sides, palms facing down. Alternatively, you can make fists with your hands, rest your elbows on the floor, and lift your fists up so that your forearms are perpendicular to the floor.
- Bend your knees and press the soles of your feet together so that your legs create a “frog legs” or “butterfly” shape.
- Pressing the outer edges of your feet against the floor, engage your core and use your glutes to lift your hips. Make sure your shoulders and upper back remain anchored to the floor.
- Pause, then slowly lower the hips to the floor. Repeat.
Benefits of the Frog Pump Exercise
The primary benefit of the frog pump exercise is that it strengthens the gluteus maximus and the gluteus medius, similar to that of a traditional glute bridge or hip thrust. Strong glutes are crucial to overall stability, everyday functional movement, athletic performance, and injury prevention.
But the sole-to-sole positioning of the feet in frog pumps offers a unique challenge, explains Michael Julom, CPT, founder of ThisIsWhyImFit.com.
“By putting the feet together and pressing with the outsides of the feet, there’s less temptation to push with the feet rather than squeezing the glute muscles,” he says.
In other words, it’s harder to cheat.
Tips for Doing the Frog Pump Exercise
It can take some time and experimentation to master the frog pump exercise. Julom has a few tips for making this movement work for you.
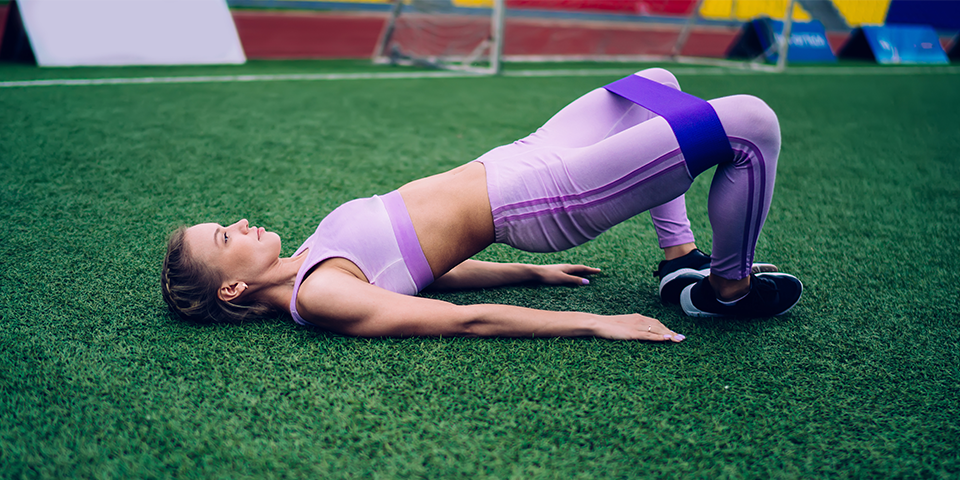
1. Try using a band
“The key is to assure that the glute muscles are doing the work and not the legs,” Julom says. “If you lose the tension in the glutes, your groin will tend to naturally compensate for it, causing some discomfort in that area later. In that situation, I suggest using a band around the knees to maintain tension in the glutes.”
2. Experiment with the distance between your heels and butt
“The farther away they are, the more you will feel the hamstrings,” Julom says. “The closer they are, the more you will feel the quads. The ideal distance will provide optimal glute activation and minimal hamstring and quad involvement.”
3. Keep your spine neutral
“Anchoring the upper body with the arms is also important to avoid putting all the pressure on the back of the neck and head,” Julom says. “The back shouldn’t sag toward the floor, nor should the back bow at the top of the bridge so that the abdomen extends upward.”
Frog Pump Exercise Alternatives
While frog pumps are an excellent option for glute activation, they’re not ideal for everybody.
“You have to be careful with neck injuries on any exercise that uses the top of the back and potentially the head as the fulcrum,” Julom says. “Anyone who’s had a cervical spine injury or surgery would be better off seeking another glute exercise.”
The same goes for those with a foot or ankle injury, as the ankles and outsides of the feet make ground contact and bear the load with each upward push.
If for one reason or another the frog pump exercise doesn’t work for you, there are plenty of other glute-strengthening alternatives.
1. Glute bridge
- Lie on your back, arms down by your sides. Bend your knees and plant your feet flat on the floor, making sure your knees are in line with your ankles.
- Pull in through your navel to brace your core muscles and then squeeze your glutes to press your hips up so your body forms a straight line — no arching — from knees to shoulders.
- Keep your head on the floor and eyes focused on the ceiling.
- Hold the position for a beat, and then lower your hips. Repeat.
2. Clamshell
- Lie on your right side with your feet and hips stacked, your knees bent 90 degrees, and your head resting on your right arm.
- Draw your knees in toward your body until your feet are in line with your butt. Place your left hand on your left hip to ensure it doesn’t tilt backward. This is your starting position.
- Keeping your abs engaged and your heels together, raise your left knee as far as you can without rotating your hip or lifting your right knee off the floor.
- Hold for a second, squeezing your glutes at the top of the move, before slowly lowering your left knee to the starting position.
- Complete all reps, then repeat on the other side.
3. Hip thrust
- Sit on the floor with your back against the long edge of a gym bench and your feet flat on the floor (if using weights, place a barbell or dumbbell across your waist). The bench’s pad should be positioned just under your shoulder blades.
- Engage your core and push through your heels to lift your hips toward the ceiling, keeping your chin tucked to prevent your back from arching excessively.
- At the top of the movement, squeeze your glutes, and then slowly lower your butt back to within a few inches of the floor before repeating.
4. Reverse lunge
- Stand with your feet hip-width apart with your toes pointing forward and your hands at your sides. If you’re adding resistance, hold a pair of dumbbells at arms’ length by your sides.
- Keeping your chest up, back flat, shoulders back, and core engaged, take a large step back with your right leg.
- Lower your body until your left thigh is parallel with the floor. Your knees should be bent about 90 degrees, with the right knee hovering a couple of inches above the ground.
- Pause, and then push off your back foot to return to the starting position.
- Perform equal reps on both sides.
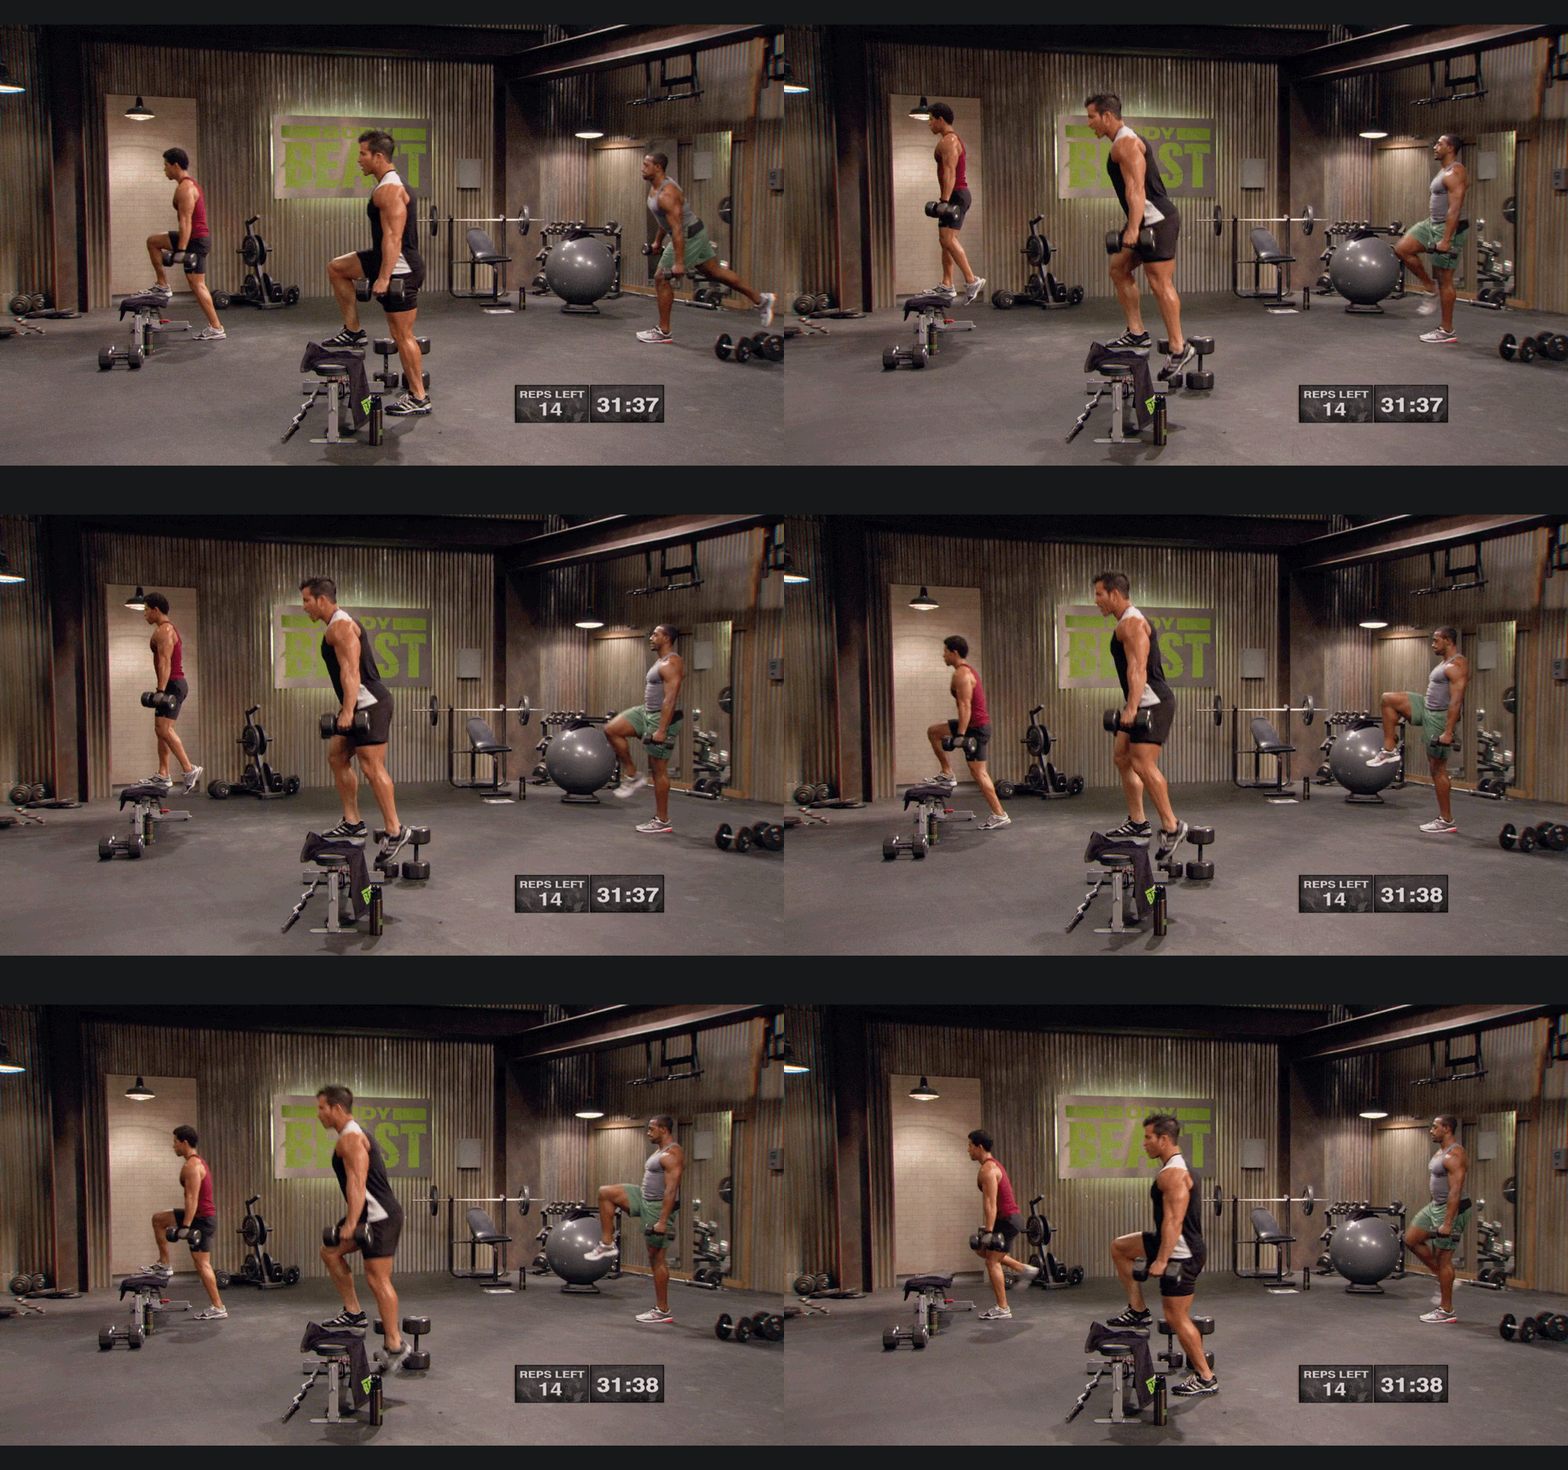
5. Step-up
- Place your left foot on a box or bench. Your hip, knee, and ankle should all be in line. Option to hold dumbbells to progress the move.
- Keeping your chest up and shoulders back, push your body up with your left leg until it’s straight (keep your right foot elevated).
- Squeeze your glutes at the top of the movement, and then lower your body, landing softly back to the starting position.
- Perform equal reps on both legs.
6. Squat
- Stand with your feet hip-width apart with toes pointing forward and your arms by your sides.
- Keeping your back flat, bend your knees and push your hips back (imagine you’re closing a door with your butt) to “sit back” into the movement as you raise your arms in front of you.
- Lower your body until your thighs are at least parallel to the floor.
- Pause, and then push through your heels to stand back up, contracting your glutes forcefully as you return to the starting position.


