When you’re looking to gauge your progress with an at-home fitness test, you might rely on some of the standard exercises from those presidential fitness tests in P.E. class — like push-ups, pull-ups, and sit-ups.
But do you know how easily you can stand up from a seated position on the floor? The answer to this question can actually tell you a lot about your overall health and fitness, so it’s worth giving the “sit stand test” a try.
Here’s what you need to know — and how to improve your sitting-to-standing ability.
What Is the “Sit-to-Stand” Test?
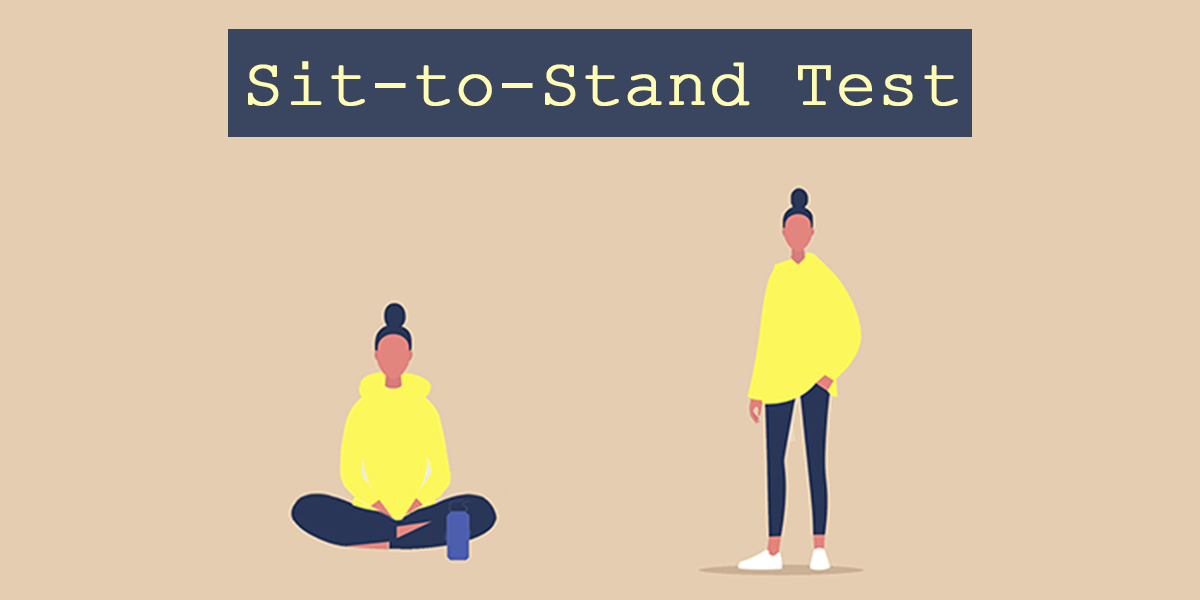
The sit-to-stand test — a.k.a. the “sit-stand test” or “sitting-rising test” (SRT) — gauges your ability to stand up from a position seated on the floor without using your hands, forearms, elbows, knees, or other points of contact for support.
“The sitting-rising test evaluates so much of what makes us physically healthy: muscle strength, mobility, proprioception, balance, and coordination,” says Exercise Physiologist Pete McCall, CSCS, author of Smarter Workouts.
When it comes to strength, McCall adds, the sit-to-stand test is especially good at sizing up the glutes, hamstrings, and inner and outer thigh muscles.
How to Do the Sit-to-Stand Test
There’s no time limit on the sit-to-stand test. The goal is simply to sit on the floor and get back up with as little additional support as possible. Here’s how to do it:
- Start in a standing position.
- Sit down on the floor, criss-cross applesauce (i.e., cross-legged). Try to avoid using your hands for support as you lower yourself.
- Stand back up — again, without using your hands or knees for support, if possible.
The sitting and standing phases of the exercise are scored separately on a scale of 0 to 5. For each phase, start with a perfect score of 5. Subtract a point for each time you used a hand, forearm, knee, or side of your leg to brace, support, or give yourself a little push. Multiple attempts can be made.
Add the best score for each phase together for a total score out of 10.
What Is a Good Sit-to-Stand Score?
Ideally, your score should land somewhere between 8 and 10 points. (Remember your score so you can see how you improve over time!)
If you struggled a bit, don’t panic. Even the strongest athletes can have trouble with this task unless they perform dedicated mobility work, McCall explains.
Does the Sit-to-Stand Test Determine Longevity?
Research suggests there may be a correlation between sitting-rising test scores and longevity.
In a study published in the European Journal of Preventative Cardiology, more than 2,000 adults over the age of 50 performed a sitting-rising test. Researchers found that lower SRT scores correlated with higher mortality rates (from any cause). Higher SRT scores were associated with longer survival rates.
The sit-to-stand test can also help to gauge other markers of fitness. Researchers in the same study noted that better scores on the sitting-rising test correlated with muscular strength and flexibility. And a different study found that flexibility played a role in performance on a sitting-rising test.
3 Ways to Improve Your Sit-to-Stand Score
Getting to and from the floor isn’t just a way to test your fitness — it’s also a great way to build strength and mobility. Try integrating these exercises into your routine.
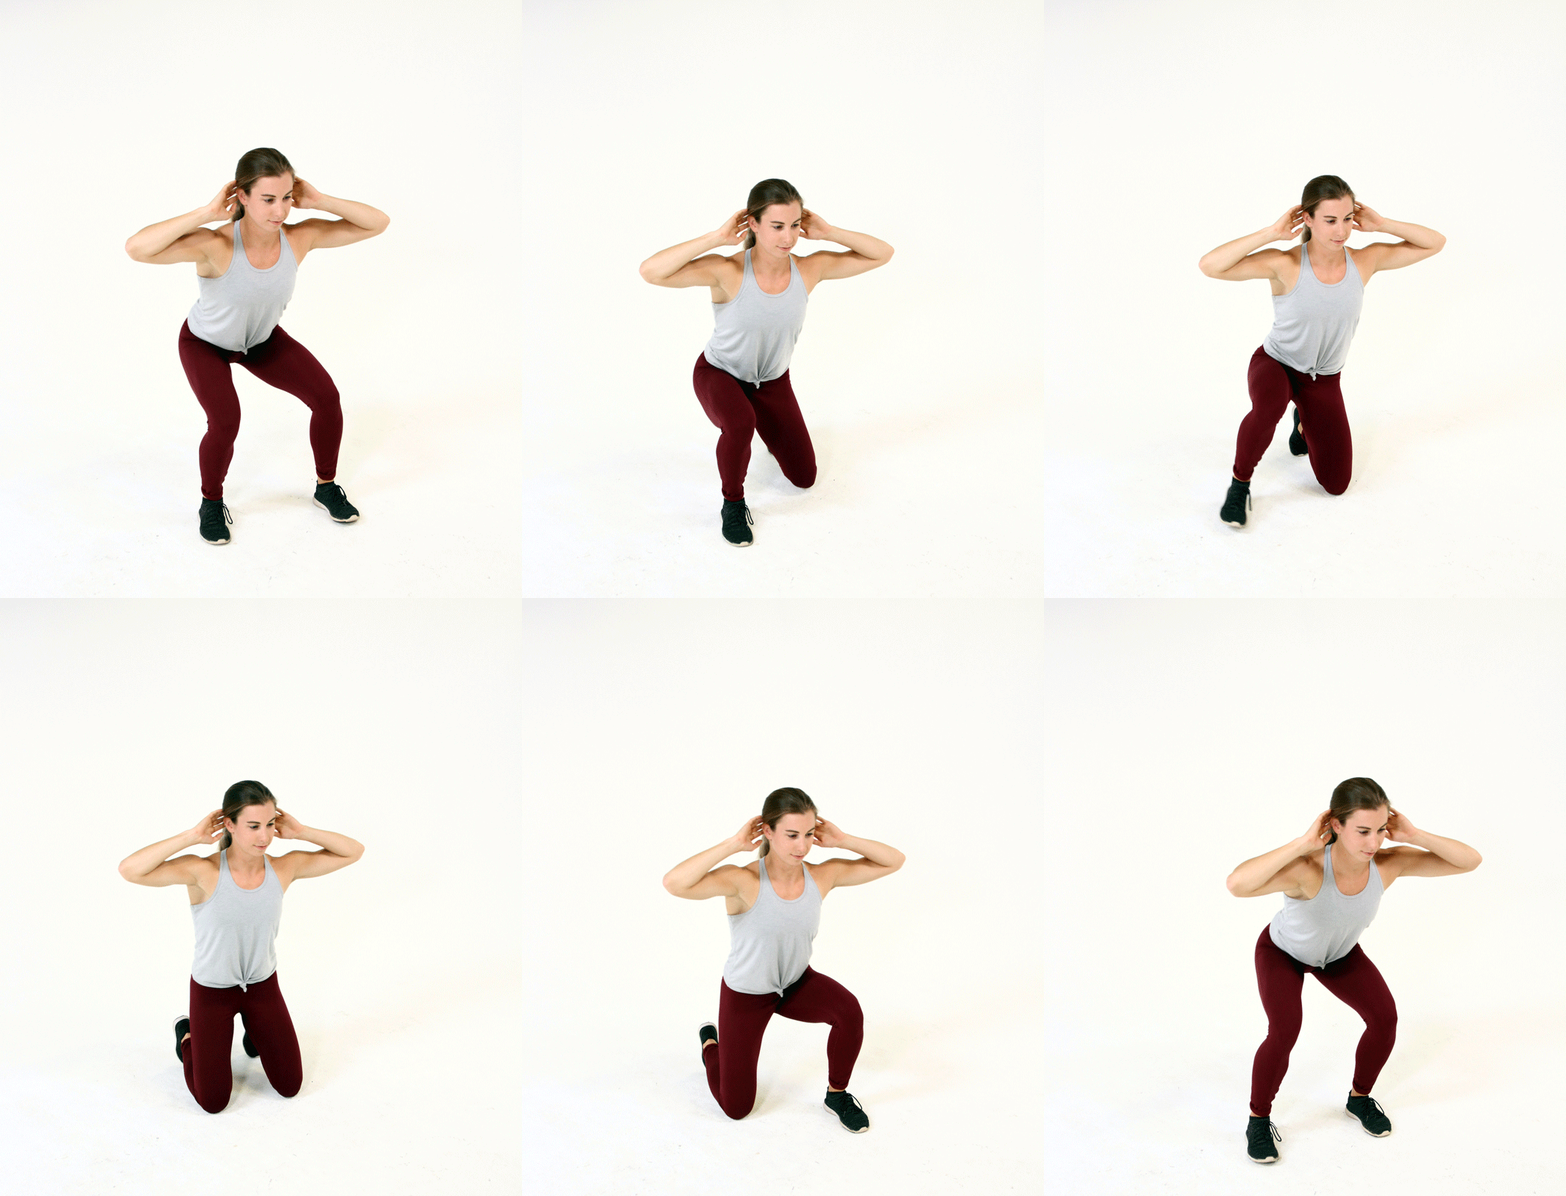
1. Prisoner get-up (aka surrender exercise)
- Stand tall with your feet hip-width apart and your hands behind your head. This is the starting position.
- Keeping your core engaged, chest up, and back flat, push your hips back and lower your body until your thighs are parallel to the floor.
- Step one foot behind you to rest your knee on the floor, and then do the same with your other foot, so that you’re now in a tall kneeling position with your knees directly under your hips.
- Pause, then reverse the movement to return to the starting position.
- Repeat, alternating which leg you move back first each time.
2. Turkish get-up
- Lie on your back with your legs extended on the floor and your arms at your sides. Bend your right leg to place your foot flat on the floor. Extend your left arm on the floor away from your body, palm down. Extend your right arm straight toward the ceiling. This is the starting position.
- Keeping your right arm extended and your eyes fixed on your right hand, engage your core and roll up onto your left forearm.
- Push through your left hand as you straighten your left arm to rise into to a seated position.
- Keeping your left leg extended, push through your right heel and squeeze your glutes to raise your hips from the floor. Your body should form a straight line from your head to your left heel.
- Sweep your left leg underneath and behind you to place your left foot on the floor and rise up into a half-kneeling position.
- Push through your rear foot to come up to a standing position.
- Reverse the movement to return to the starting position. Perform equal reps per side.
3. Shin-box get-up
- Sit on the floor with your torso upright, knees bent, and feet flat on the floor (about hip-width apart). This is the starting position.
- Rotate your body to the right, letting the outside of your right thigh and the inside of your left thigh lower to the floor. Align your chest in the direction of your right knee.
- Push into the floor with both knees and drive your hips up to tall kneeling position.
- Swing your back foot forward and up to get into a half kneeling position, and then stand up, stepping your right foot forward to bring it next to you left foot.
- Return to the starting position and repeat, this time rotating to your left.


